
The 7 steps of facial cleansing are: makeup removal, double cleansing, exfoliation, steaming, extraction, masking, and toning. This isn’t some spa-only ritual — you can do all of them at home with the right tools. Most people skip at least two steps, especially the double cleanse and the post-cleansing tone. Let’s break down each one so you know exactly what to do and why it matters.
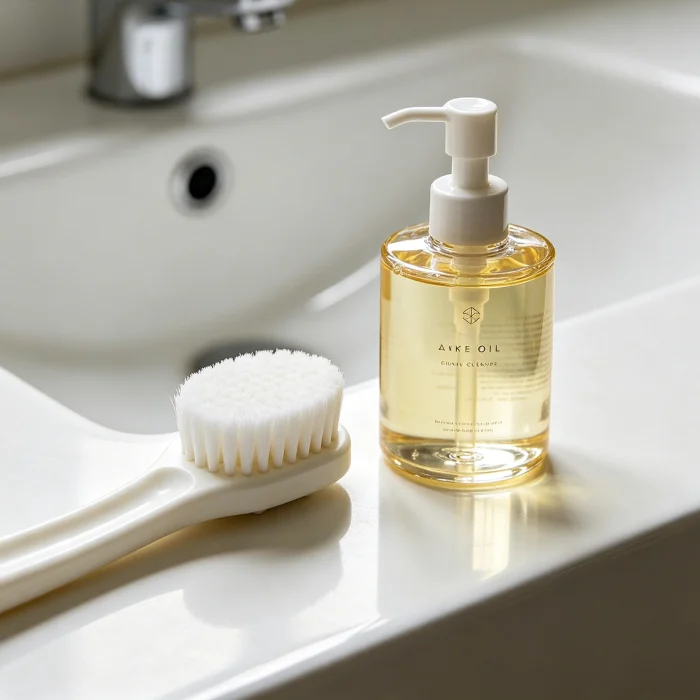
Step 1: Makeup Removal — Yes, This Is Separate
If you wear makeup or sunscreen, you need a dedicated makeup remover before your actual cleanser. Micellar water, cleansing balm, or oil cleanser all work. I personally use a cleansing balm — it melts everything off without scrubbing. A 2023 survey found that 68% of people who skip this step end up with clogged pores. Don’t be that person.
Step 2: Double Cleansing — Oil Then Water
Double cleansing is non-negotiable if you want deep clean pores. Step one: an oil-based cleanser to dissolve sebum and oil-based impurities. Step two: a water-based foaming or gel cleanser to wash away sweat and dirt. I’ve been doing this for two years and my blackheads are almost gone. For more on choosing the right tool, check out our guide on how to choose the right face cleaning brush for your skin.

Step 3: Exfoliation — Chemical or Physical, but Not Both
Exfoliation removes dead skin cells that make your face look dull. You have two options: chemical exfoliants (AHAs like glycolic acid, BHAs like salicylic acid) or physical scrubs. I lean toward chemical because they’re gentler and more even. But if you prefer a brush, a silicone or soft-bristle brush works well — just be gentle. Over-exfoliation is a common mistake; twice a week is plenty for most skin types. For sensitive skin, read our best cleansing brush for sensitive, redness-prone skin recommendation.
Step 4: Steaming — Open Those Pores
Steaming softens sebum and makes extractions way easier. You don’t need a fancy steamer — a bowl of hot water and a towel over your head works fine. Five minutes is enough. If you use a facial steamer, keep it at 6-8 inches from your face. Steaming also boosts circulation, giving you that post-facial glow. But if you have rosacea or very sensitive skin, skip this step or keep it under two minutes.

Step 5: Extraction — Gentle Only, Please
Extractions remove blackheads and whiteheads that steaming has loosened. Use clean fingers wrapped in tissue or a metal extractor tool. Never force it — if a plug doesn’t come out easily, leave it. I’ve seen people dig into their skin and end up with red marks that last weeks. A good face cleaning brush can help reduce the need for extractions over time by keeping pores clear.
Step 6: Masking — Targeted Treatment
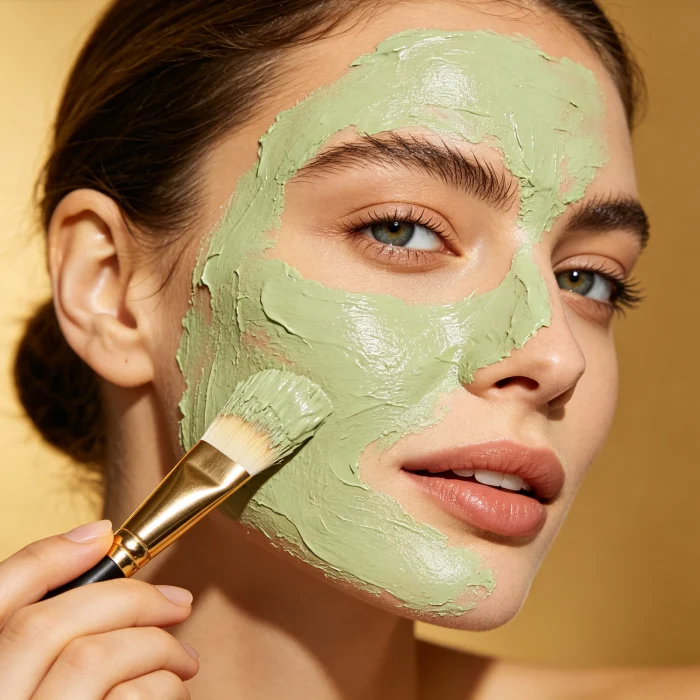
Now your skin is clean and receptive — perfect time for a mask. Clay masks for oil control, hydrating masks for dryness, or sheet masks for a quick boost. Leave on for the recommended time (usually 10-20 minutes). I use a kaolin clay mask once a week and it keeps my T-zone shine-free. Don’t let masks dry completely; rinse while they’re still slightly damp.
Step 7: Toning — Restore pH and Prep for Moisturizer
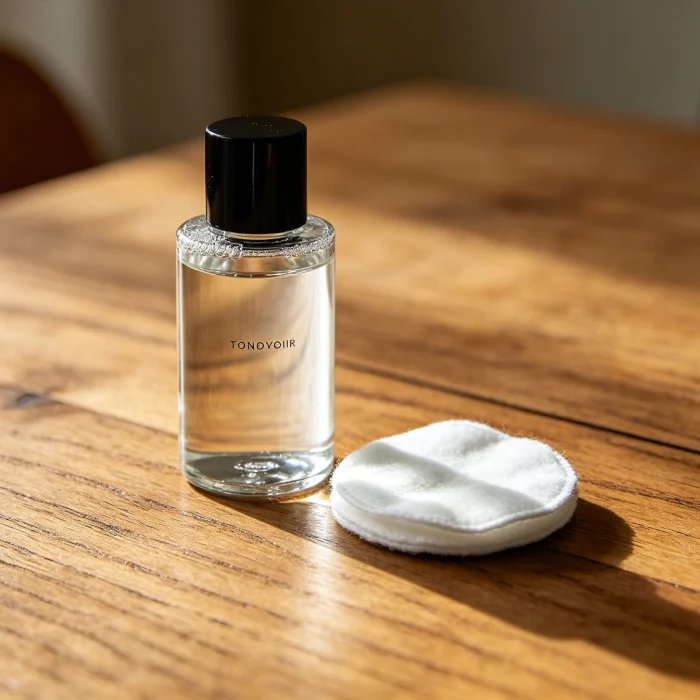
Toners balance your skin’s pH after cleansing and remove any leftover residue. Some are hydrating (hyaluronic acid toners), some are exfoliating (BHA toners). Pat it on with your hands — no cotton pad needed unless you want a light exfoliation. I use a pH-balancing toner and my moisturizer absorbs noticeably better. For a full comparison of manual vs brush cleansing, see why choose a face cleaning brush over manual cleansing.
Common Questions About the 7-Step Facial Cleansing Routine
Can I use a face brush for every step?
No. Use a brush only during the second cleanse (step 2) and maybe for gentle physical exfoliation (step 3). Brushes aren’t for makeup removal or masking. Overusing a brush can irritate your skin.
How long does the full routine take?
About 25-35 minutes if you include mask time. Without the mask, it’s around 15 minutes. Steaming adds 5-10 minutes, but you can do it while relaxing.
Is steaming necessary?
Not strictly, but it makes extractions much easier and boosts product absorption. If you have sensitive skin or broken capillaries, skip it.
Can I skip exfoliation if I use a cleansing brush daily?
A brush provides mild physical exfoliation, but it’s not a replacement for a dedicated exfoliant. If you use a brush daily, reduce chemical exfoliation to once a week or alternate.
What order should I apply products after cleansing?
After toning: treatments (serums, vitamin C, retinol) first, then moisturizer, then sunscreen in the morning. At night, you can use a heavier cream or sleeping mask.
Will this routine help with acne?
Yes, especially if you focus on double cleansing and gentle extractions. But if you have active cystic acne, avoid physical exfoliation and extractions — see a dermatologist instead.
“In my practice, I always start patients with the 7-step facial cleansing routine at home before recommending any in-office treatments. It builds a strong foundation. The most common mistake I see is people using the wrong cleanser for their skin type — for example, a foaming cleanser on dry skin strips the natural oils and makes dehydration worse. Take the time to know your skin, and don’t skip the toner step. It’s not just water — it resets your pH and preps the skin for the next product.”
All Comments 0
Please log in to post a comment.
No comments yet. Be the first to share your thoughts!